Intro
Today we will draw an octopus using the pencil and sharpie markers. Then, we will image trace it using VectorEZ!
Hand Drawing of the Octopus
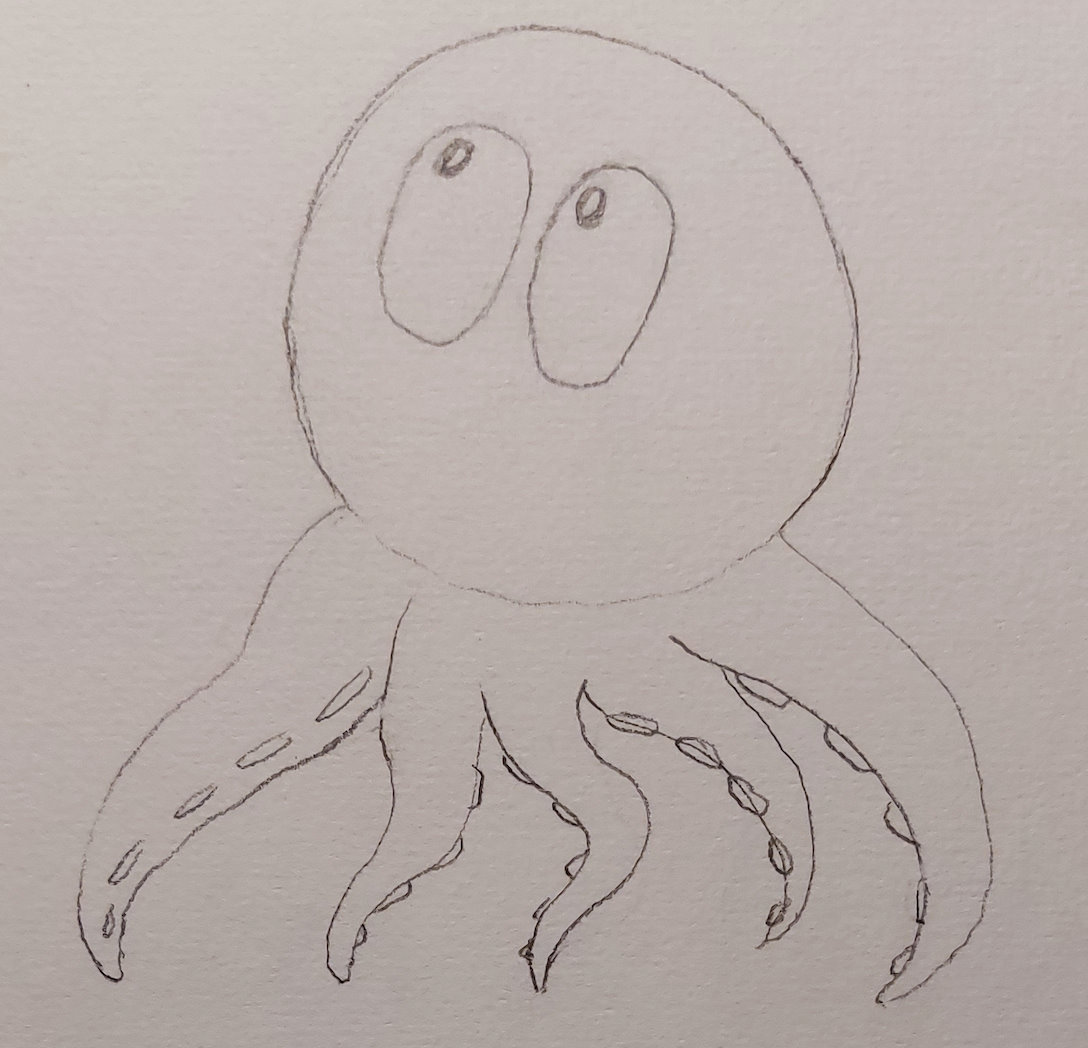
Let's start by sketching our octopus creature with a pencil:
We then draw over the sketch with a sharpie marker. The goal is to obtain a clear and sharp outline that the vectorizer tool can work with.
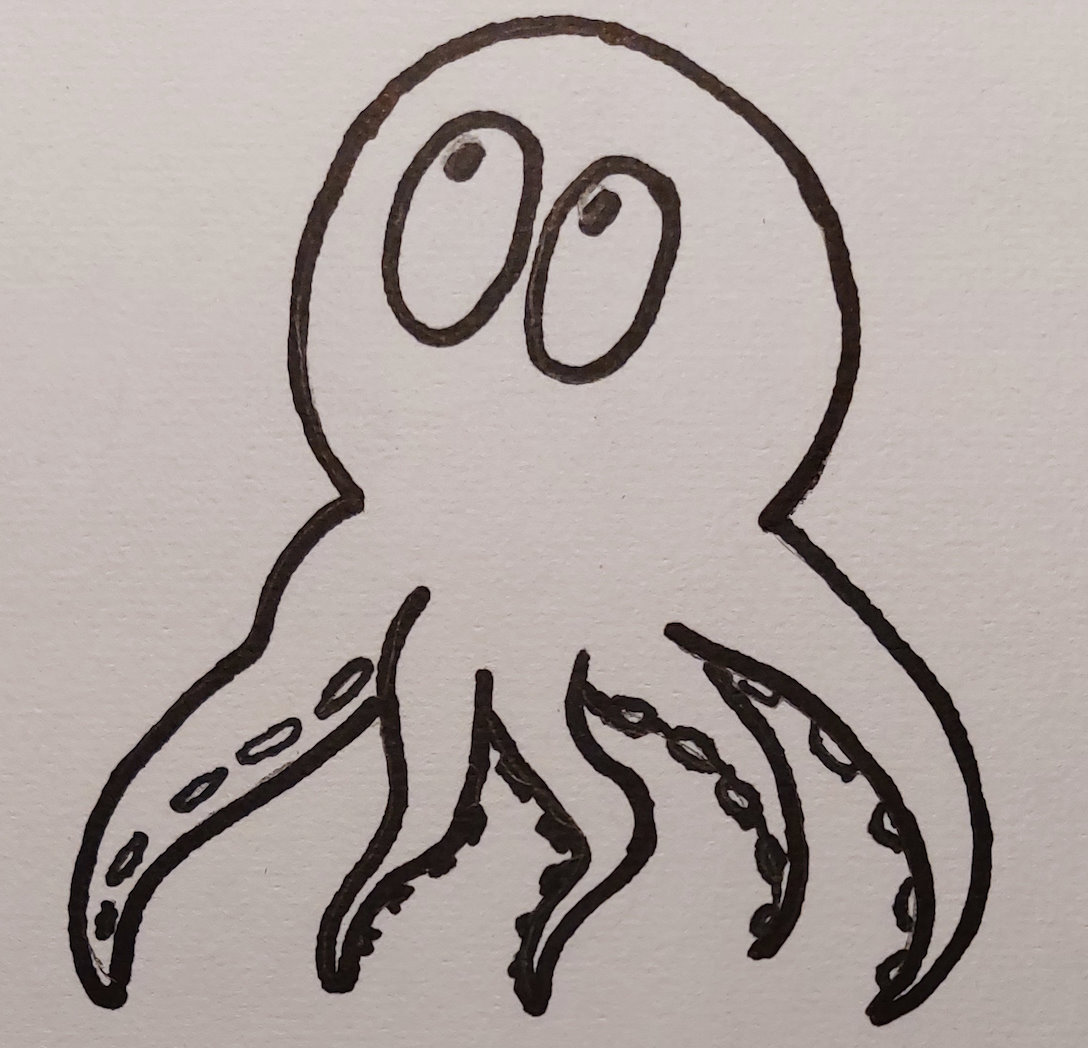
Take a picture or scan the drawing (with at least 300 dpi precision.)
Prepare the Input Bitmap
Before vectorizing the image it is important to get rid of some the image defects, which would degrade the quality of the vector image.
To do that one can use an image editing software. Many free solutions exist. For the purpose of this demo we are using paint.net, on Windows. Using the "Clone stamp" tool we fix the scan of the octopus picture. For example, we might want to remove the pencil strokes that are still visible:
We usually want to have a clean separation between the drawing lines, or else the vectorization process might connect them.
Still using the clone stamp tool, we remove any smear made by the marker. We also make sure that small hollow shapes, like the suction cups of the tentacles of our image, display a clear white area in the center. Below is a before/after view of that clean-up process.
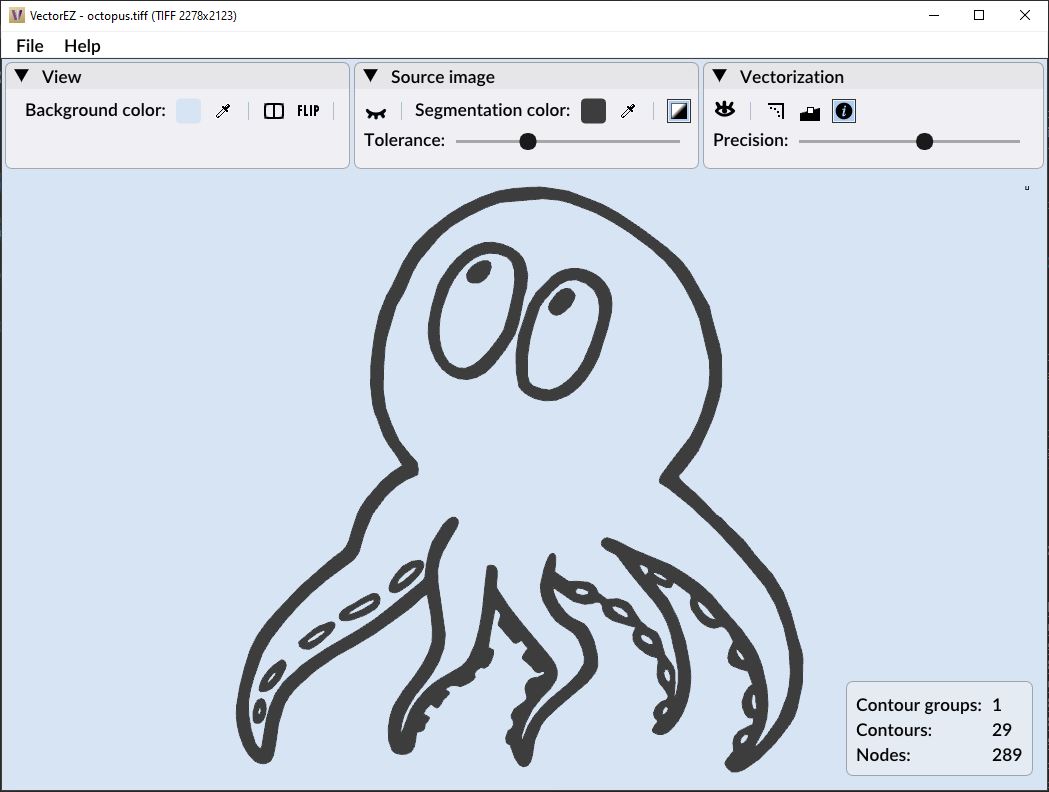
Image Trace using VectorEZ
We now have our clean bitmap image: octopus.tiff.
Let's launch VectorEZ and drag-n-drop the image onto it!With the default settings, the vectorization is already correct. However we can tune the settings to improve it:
- The default segmentation color is black. However the marker lines are a dark gray. Using the segmentation color picker we choose a color that is a better match. The procedure to set the segmentation color is further explained in the help page.
- Tune the segmentation tolerance.
- Finally, tune the vectorization precision. This has an effect on the sharpness of the black lines, and on the number of control nodes used to draw the figure.
We change the settings until we reach a satisfying result:
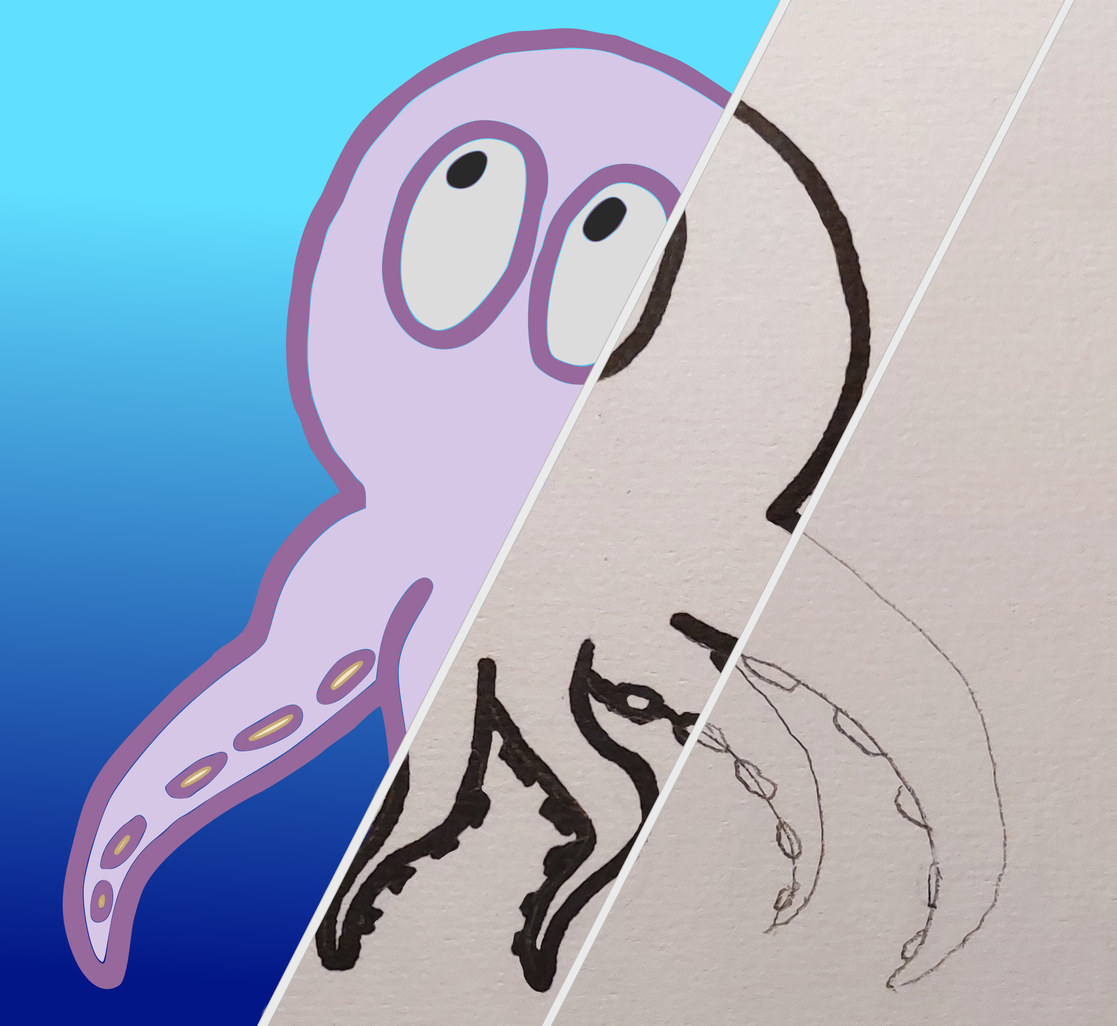
Final Result
Here is our final sea creature: octopus.svg, colorized thanks to Inkscape.
The image trace of a hand drawing, like we saw in that example, is not going to be a perfect vector. The vector lines will have some imperfections that show that it was drawn by hand. With VectorEZ, the user can choose to what extent the characteristics of the original sharpie lines are present in the final vector image. Keep in mind that the closer the vectorization is to the original image, the bigger the resulting SVG file will be.
Do you want to play with vectorization? Download the demo of VectorEZ, available for macOS and Windows!
